N1 install Armbian 20.10 & docker openwrt | 斐讯N1安装 Armbian 20.10
N1 刷入 Armbian 20.10 并安装docker 运行openwrt做为旁路由
引用
https://www.right.com.cn/forum/thread-4057162-1-1.html
https://www.shintaku.top/posts/docker-openwrt/
https://disk.yandex.com/d/srrtn6kpnsKz2
https://forum.armbian.com/topic/12162-single-armbian-image-for-rk-aml-aw-aarch64-armv8/page/38/
https://forum.armbian.com/topic/5549-samba-setup/
https://blog.ztluo.dev/post/0057-phicomm-n1/
资源包
有网友提到已经不能下载安装包了,我从电脑也找到了我下载安装包,上传到google drive了,有需要的可以看看
Armbian_20.10_Arm-64_focal_current_5.9.0.img
下载最新的Armbian系统,
我选择的是:Armbian_20.10_Arm-64_focal_current_5.9.0.img
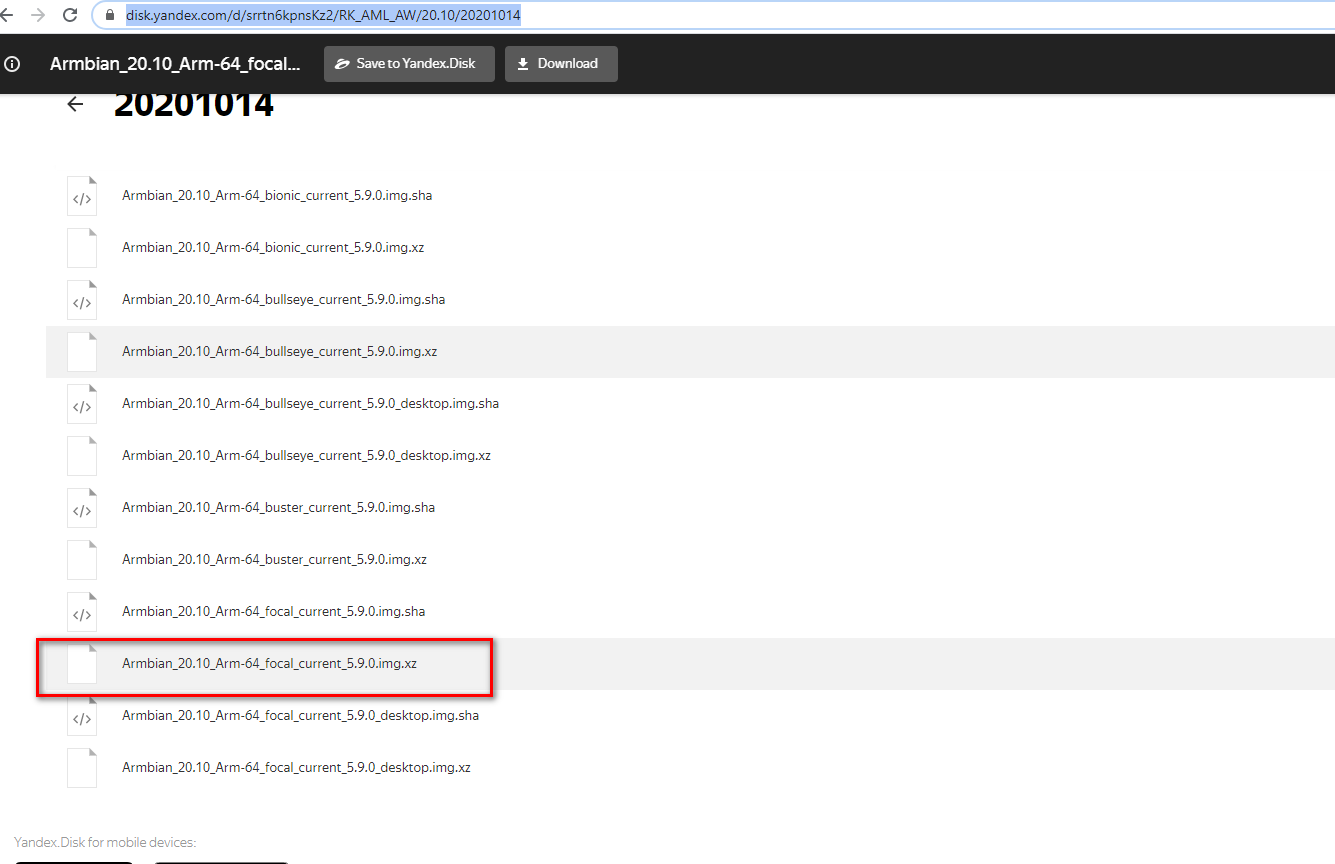
打开https://disk.yandex.com/d/srrtn6kpnsKz2/RK_AML_AW/20.10/20201014 选择相应的文件下载到本地

使用rufus把armbian写入U盘
由于最新的armbian和以前不一样了, 没有uEnv.ini文件了,所以在写入之后,修改启动文件和之前稍等为有一点区别
The new version of images 20200814.

Please note that the algorithm for initial configuration of the system for startup has changed. Instead of a file "uEnv.txt", the file "/extlinux/extlinux.conf " is now used. The rules for editing a file remain the same.

All Amlogic models now need the "u-boot.ext" file.

Before launching on Amlogic, you must copy or rename one of the existing files "u-boot-*" to "u-boot.ext".


For s905 (not X) - used u-boot-s905

For s905x and s912 - used u-boot-s905x-s912

For s905x2 and s922 - used u-boot-s922


For g12a\g12b models, a single file is now used (files u-boot.sd and u-boot.usb now replaces one u-boot-s922 file).

For the Allwinner platform, you no longer need to rename the scripts "boot.scr".

All "boot.scr" scripts have been canceled and are not used.
- 修改
/etclinux/extlinux.conf如下, 选择meson-gxl-s905d-phicomm-n1.dtb
LABEL Armbian
LINUX /zImage
INITRD /uInitrd
....

FDT /dtb/amlogic/meson-gxl-s905d-phicomm-n1.dtb
APPEND root=LABEL=ROOT_EMMC rootflags=data=writeback rw console=ttyAML0,115200n8 console=tty0 no_console_suspend consoleblank=0 fsck.fix=yes fsck.repair=yes net.ifnames=0
- 复制
u-boot-s905x-s912为u-boot.ext - 插入U盘,在5秒内按任意键,然后输入
run usb_boot

- Armbian 默认用户名和密码:root/1234
- 启动成功后,执行
./install-aml.sh写入到emmc
安装Samba
执行armbian-config , 选择 Software > Softy > 选中Samba > OK
配置文件 /etc/samba/smb.conf
检查samba状态 service smbd status , start , restart
配置valid user = root?, 修改smb用户密码 sudo smbpasswd -a <user_name>
安装Docker
curl -fsSL https://get.docker.com -o get-docker.sh
sh get-docker.sh
可以接着安装一个Docker图像化管理工具Portainer:
docker volume create portainer_data
docker run -d --name portainer --restart always -p 9000:9000 -v /var/run/docker.sock:/var/run/docker.sock -v portainer_data:/data portainer/portainer
在Docker里面安装Openwrt
docker network create -d macvlan --subnet=192.168.10.0/24 --gateway=192.168.10.1 -o parent=eth0 macnet
docker run -d --name openwrt --restart always --network macnet --privileged unifreq/openwrt-aarch64
IP地址192.168.10.1,根据自己实际情况修改, 我的主路由ip是192.168.10.1
另一个Openwrt Docker Image
https://hub.docker.com/r/sulinggg/openwrt
https://mlapp.cn/376.html
docker run -d --name openwrt_new --restart always --network macnet --privileged sulinggg/openwrt:rpi4 /sbin/init
Another Openwrt Docker Image
https://www.right.com.cn/forum/thread-4033532-1-1.html
https://hub.docker.com/r/piaoyizy/openwrt-aarch64
docker run -d --name openwrt_2 --restart always --privileged --network macnet piaoyizy/openwrt-aarch64:latest
配置OpenWrt地址
执行docker exec -it openwrt bash进入容器里进行配置。
编辑容器里的/etc/config/network配置文件,将option ipaddr的值改为指定给OpenWrt的ip地址,如192.168.10.2。
保存后执行/etc/init.d/network restart使配置生效。
此时通过浏览器访问刚刚配置的地址应该就可以进入luci管理界面了(默认密码应该是password)。
旁路由设置
通过浏览器进入OpenWrt的管理界面,在网络-接口里修改lan的配置,将IPv4网关设置为主路由的地址,如192.168.10.1,在使用自定义的DNS服务器里添加几个当地最好用的公共DNS;在物理设置里关闭桥接接口;关闭DHCP服务器里的动态DHCP功能,保存并与应用设置。
主路由设置
在主路由的内部网络(LAN)-DHCP服务器设置里将默认网关和DNS服务器设置为旁路由地址,如192.168.10.2。
如果有必要外部网络(WLAN)- 互联网 DNS 设置 - 自动接上 DNS 服务器 否, DNS 服务器1: 192.168.10.2
Armbian和OpenWrt网络互通
按照上面设置完旁路由发现Docker的宿主机Armbian系统和OpenWrt无法互相访问。
需要修改Armbian网络配置/etc/network/interfaces,增加如下内容:
auto eth0
iface eth0 inet manual
up ip link set eth0 promisc on #这里永久将宿主机的网卡改成混杂模式

auto macvlan
iface macvlan inet static
  address 192.168.10.10  #此处为宿主armbian的IP
  netmask 255.255.255.0
  gateway 192.168.10.1
  dns-nameservers 192.168.50.1
  pre-up ip link add macvlan link eth0 type macvlan mode bridge
  post-down ip link del macvlan link eth0 type macvlan mode bridge
其中address是要固定的Armbian的地址,gateway和dns-nameservers填主路由地址就可以了。
保存后执行systemctl restart networking使配置生效,两个地址就可以互相访问了。
然后在比硬路由更强大的N1盒子上就起一些留学服务了。
还没有人评论,抢个沙发吧...